
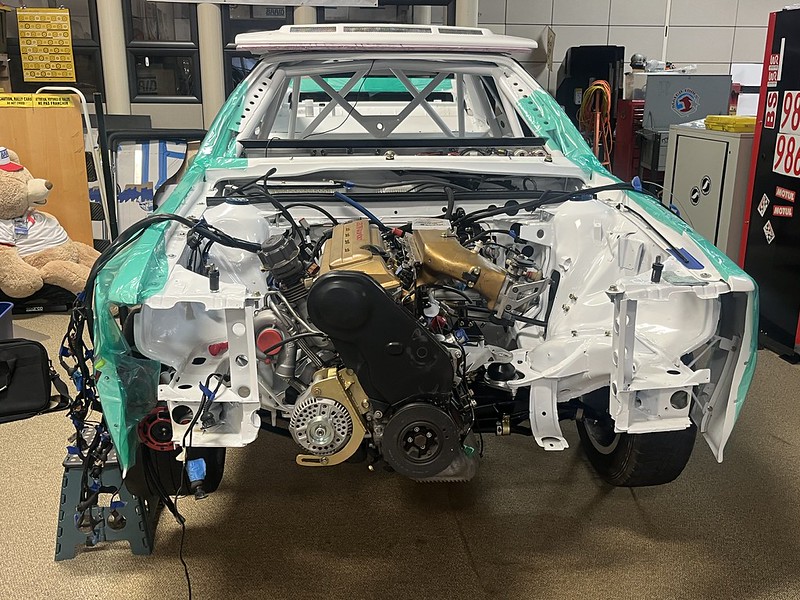
Thanks for sticking around an following our 10 year build! Last month we discussed how we struggled to install the exhaust manifold, wastegate and turbo, made the crank position and speed sensors fit and installed the flywheel and clutch. In this update we put our game face on, get falsely relayed, strapped in and, if we’re not exhausted, get the engine and transmission in, maybe even in the right end of the car! (our other rally car is a 911 btw)
We hosted a Hagerty Driver’s Club event in our building recently so decided to put the car’s game face on. Best face forward as they say. It looks like a car again. A rather spicey car even.

Another distraction or waiting for parts? You decide. We always liked these original relay panels so thought we could replicate them. Nearly nailed it in our humble opinion. What do you think? Like the fuse panels, we don’t actually need these as we are using a Power Distribution Module (PDM) but couldn’t resist adding this authentic touch.


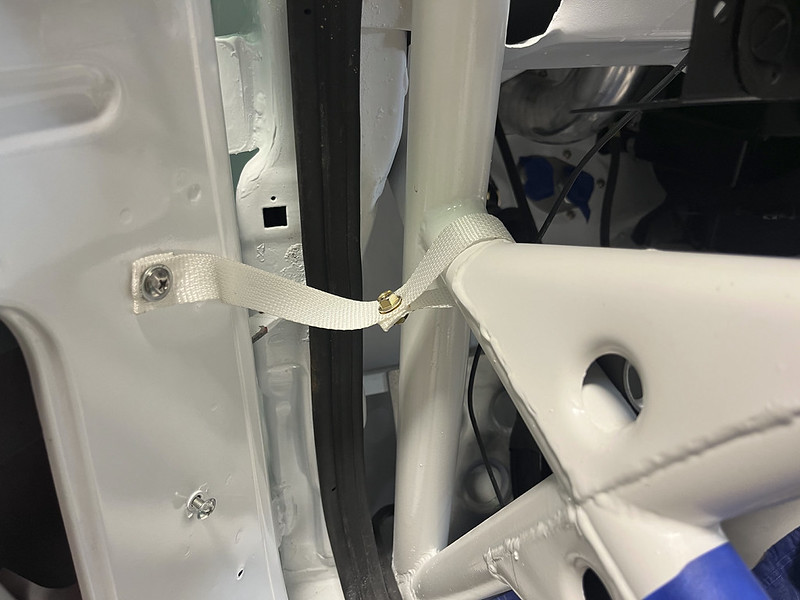
We added some works-like door straps for added authenticity and not because we need them, as we are using the original door checks; as you’d remember if you’d been paying attention because they were one of the first parts we bolted to the freshly painted shell because “priorities”.

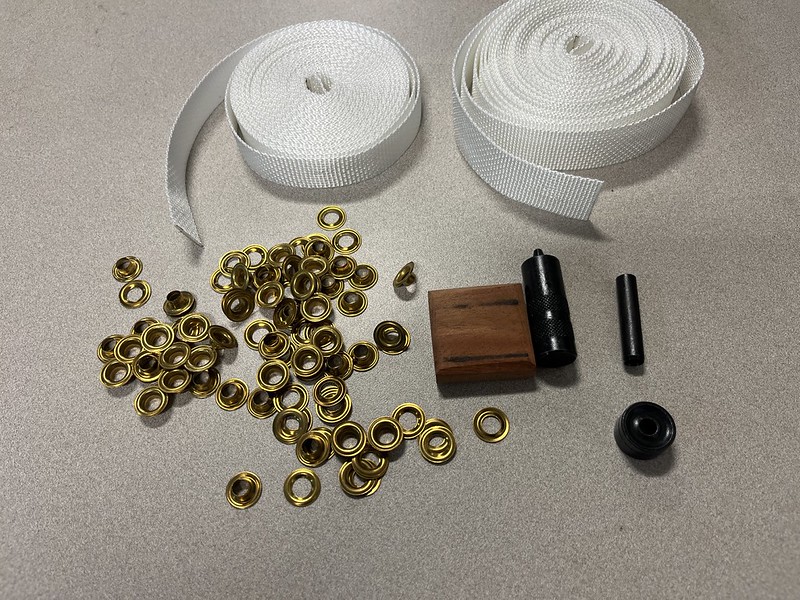
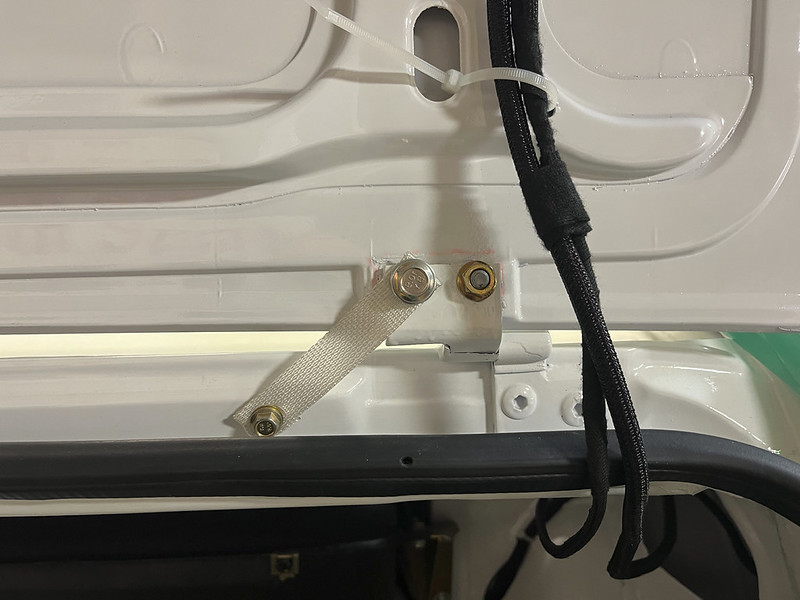
We continued the striving for authenticity into the trunk because we couldn’t help our selves and once you’ve got the punches out….

Finally it was time to stop playing around and get the engine and transmission in! It was a tight squeeze but we managed it. Maybe we should have dropped the subframe to make it easier? DOH!. We’ll know better next time. What next time?


and no, we didn’t add roof vents. We just put the hood on the roof to see if you are paying attention. Well spotted.
Stay tuned, follow and subscribe, or whatever forums do these days. Next time we might just fire up the Quattro!


Leave a Reply