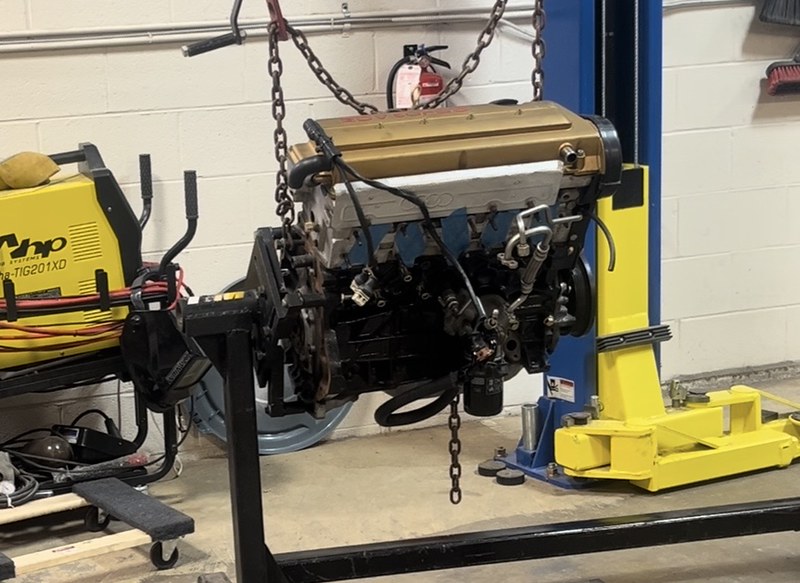
Building an Audi Quattro Group B Rally Replica Episode 7-Engine Prep.

In our last update we were working towards getting the engine in the car by installing pars in the engine bay that would facilitate it starting or are much easier to install before the engine is in the way. This time we continue that theme but more directly work on the engine itself.


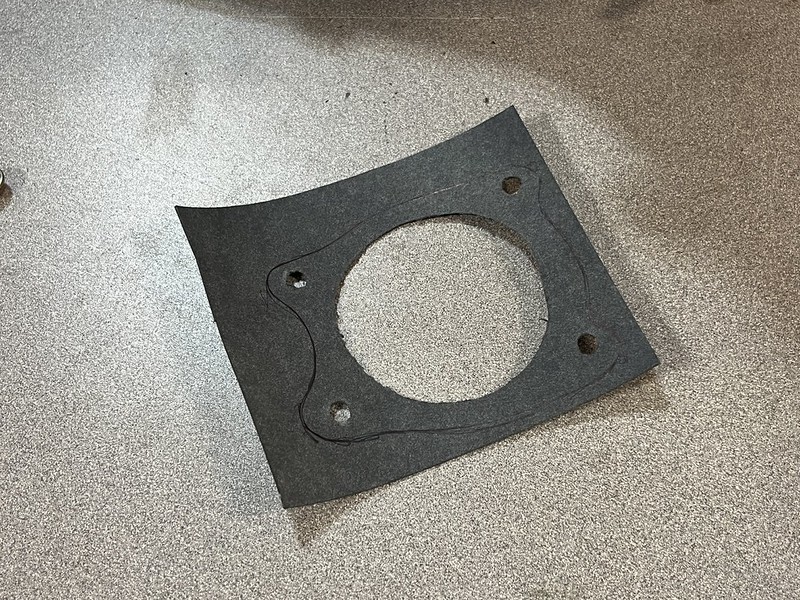
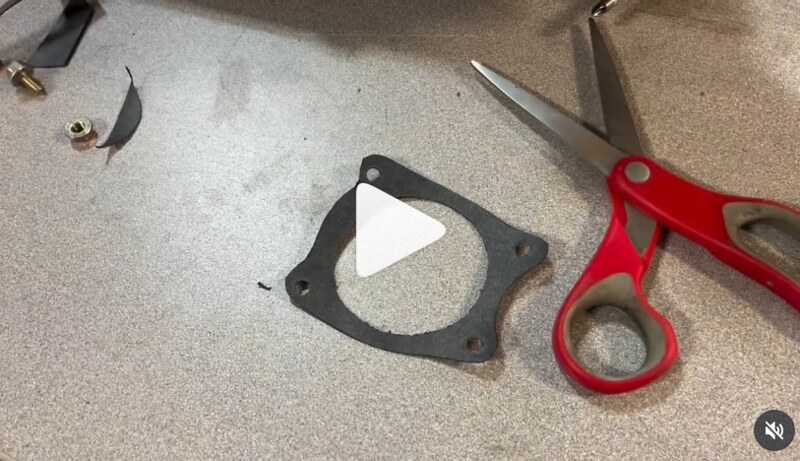
Our throttle body wanted a gasket to mate it to the intake manifold leak free and we didn’t have one. Unfortunately nobody else did either so we decided to make one! How hard could it be.
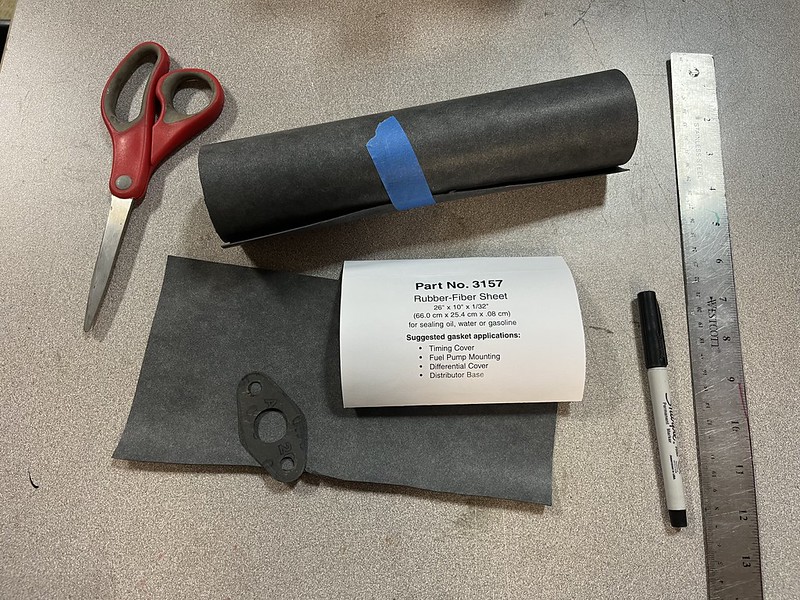
A flat workspace with a pair of red scissors, a roll of rubber-fiber sheet secured with blue tape, a label indicating part number 3157 and gasket applications, a small black rubber piece, a ruler, and a black marker.
A close-up of a person installing a black gasket onto a golden engine part, with a video play button overlay.
An individual is securing a gasket onto a component using a wire and screws, with tools and other parts visible in the background.
A black gasket made of rubber-like material, featuring a circular hole in the center and two small holes at the edges, placed on a textured surface.
A pair of red scissors next to a black rubber gasket on a work surface, with a video play button overlay.
Close-up of a brass exhaust pipe with a carburetor attached, set against a blurred background of a workshop.


Yes, some of those are screen shots of our Instagram posts. We were so excited we forgot to shoot some stills.


We now thought it about time to split the engine from the transmission and get it on the engine stand. This would make it so much easier to install such items as the intake and exhaust manifolds not to mention the flywheel and clutch.
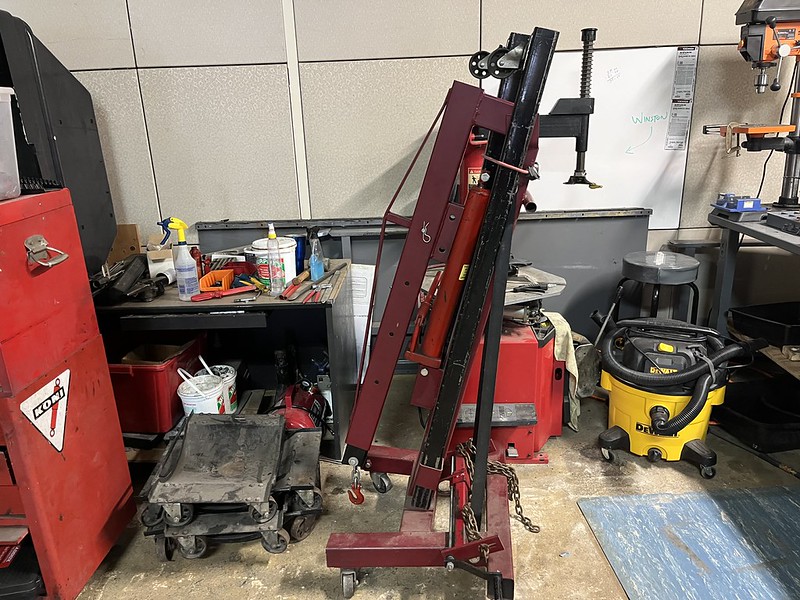
A red and black hydraulic lift used for vehicle maintenance, positioned next to cluttered workbenches and equipment in a garage setting.
A car engine suspended from a hoist in a garage, with a yellow welding machine in the background.


We didn’t like how poorly our engine mount brackets cleaned up so we cheated and hit them with some aluminium paint.

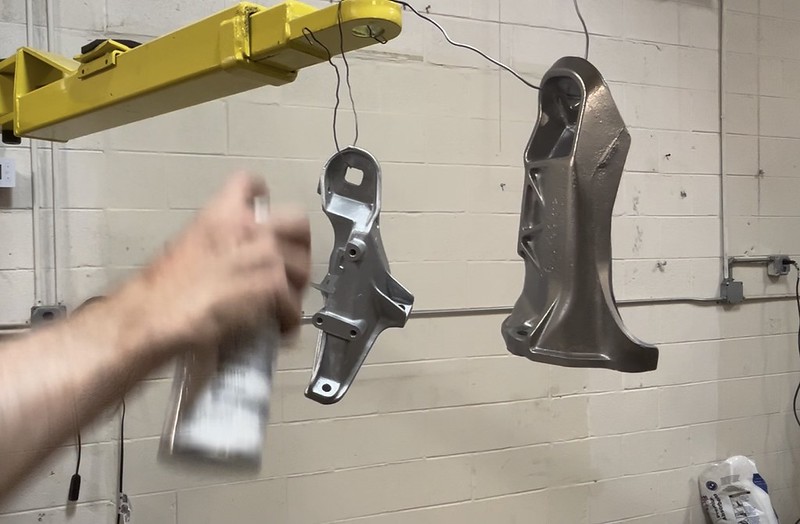
Metal parts hanging by wires in a workshop environment, with tools and a van in the background.
A hand holding a spray can applies paint to metallic car parts hanging from a yellow overhead crane in a workshop.


Still forging ahead with engine prep stuff we installed the coolant and intake manifolds.

Close-up view of an engine's intake manifold showing several ports and a connected fuel rail.
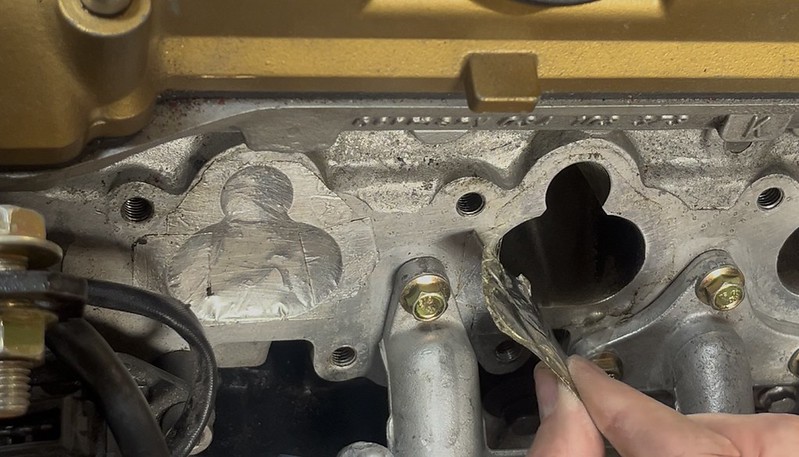
Close-up of an engine part showing a carved design in metal, with a person using a tool to clean or modify the area.

We installed the intake manifold over this phenolic spacer to help keep the intake cool, This, of course, required two gaskets instead of one.

Close-up view of a car engine's intake manifold, featuring a gold valve cover and visible gaskets and bolt details.
Close-up of an engine component featuring a metallic intake manifold, colored hoses, and various fittings on a textured black engine block.


We needed a few more parts before we could rotate the engine on the stand to access the hot side so busied ourselves with installing a few non-engine related parts, namely the driver’s heel plate a clutch foot rest

Interior view of a car showing metal flooring, pedal assembly, and mounting brackets.


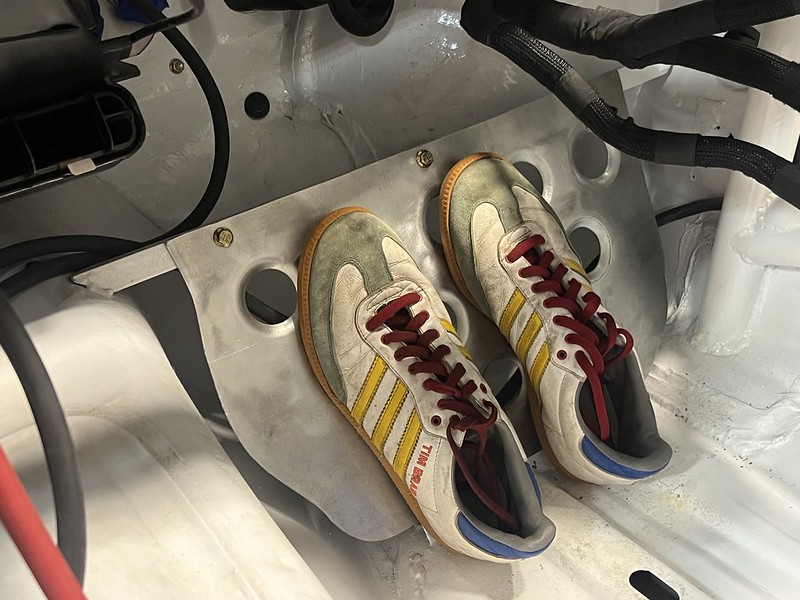
co-driver’s footrest

A hand holding a metallic panel with several circular cutouts, positioned inside a vehicle's interior, surrounded by various tools and wires.
A pair of vintage sneakers resting on a metallic plate inside a car's interior, showcasing a clean, white background with wires and components visible.


bulkhead blanking plugs 

Close-up view of the interior of a car, showing a section of the body with painted holes and a tube being applied to seal the area.


and turn signals

Close-up of an orange automotive indicator light integrated into a white vehicle body panel.


In the next update we’ll hopefully be adding parts to the hot side of the engine, assuming we don’t get distracted again.
 

Leave a comment