
When we left you last tine we’d just covered engine bay wiring, intake system elbow, dash and heater blower. This time we’re continuing withe the intake system but adding fuel lines, power steering lines, exhaust manifold and a few other goodies.
Continuing to strive towards getting the engine fired up we thought we should put a lid o the air cleaner; or at least as best we could for now. We may have mentioned that the idea behind our intake system is to feed cold air the turbo while also trying to pay homage to the original works cars as you can see here in a picture posted by Mekela Autosport

While ours enters the air filter from below we’d still like to make it as somewhat like the real thing so we are trying to figure out how to get a carbon Kevlar lid made. Meanwhile we needed to at least mount our silver painted cardboard version to the base we installed last time.

First we made some mounting posts buy pressing some rivnuts into some aluminium tubes of, hopefully, the appropriate length.
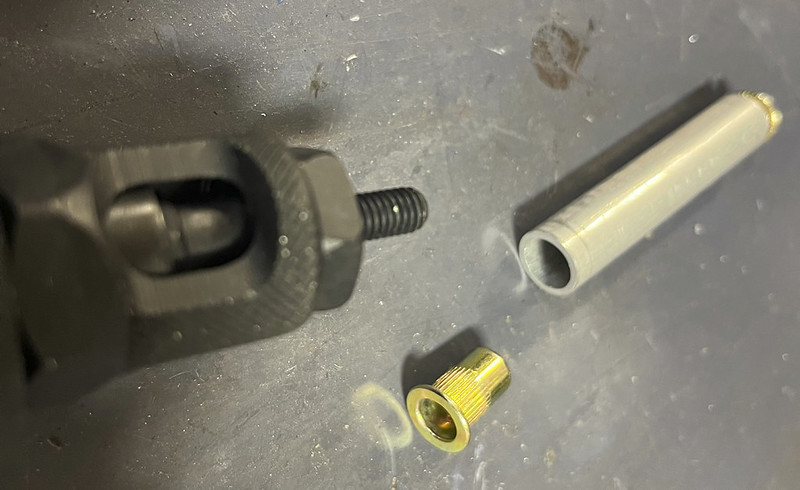
The we screwed them to the base and put the lid on. Should work for now so long as the workshop’s roof doesn’t spring a leak.


They say engines just need air, fuel, compression and spark to fire. Well, we’ve got air covered now so we moved onto fuel. We’d mocked up our fuel lines in the dry build but now it was time to turn them into the real thing. Trouble is, we’ve never made any AN lines before! “How hard could it be” we thought. We started with the one that feeds the fuel filter mounted in the cowl area under the hood. But first we pulled out our stock pile of fittings and hoses and stared at them for a while with the intention of intimidating them into submission.

Turns out they weren’t so bad after all but we’d heard the stainless steel covered ones were the real buggers.


Excited by our success we proceeded to make and install every fuel line we could,


even those under the trunk around the fuel pump.

In fluid line mode, so to speak, we then moved on to the power steering lines. We only need one to feed our electric pump and a low pressure return. The low pressure hose just needs hose clamps but the high pressure line we thought was above our pay grade so we had our friends at WEGO Car Restoration Consulting help us out. Looks rather nice:

One last item on our while we’re in there (engine bay) list was to install a brake light pressure switch into our brake system as we kinda forgot it during the dry build. Oops! We wanted a spot that ideally saw front brake pressure and was on a long enough straight run tat we could splice in the switch and AN-3 fittings. It was a tight squeeze but we managed to get it in right next to the brake master cylinders and just before the left/right tee.


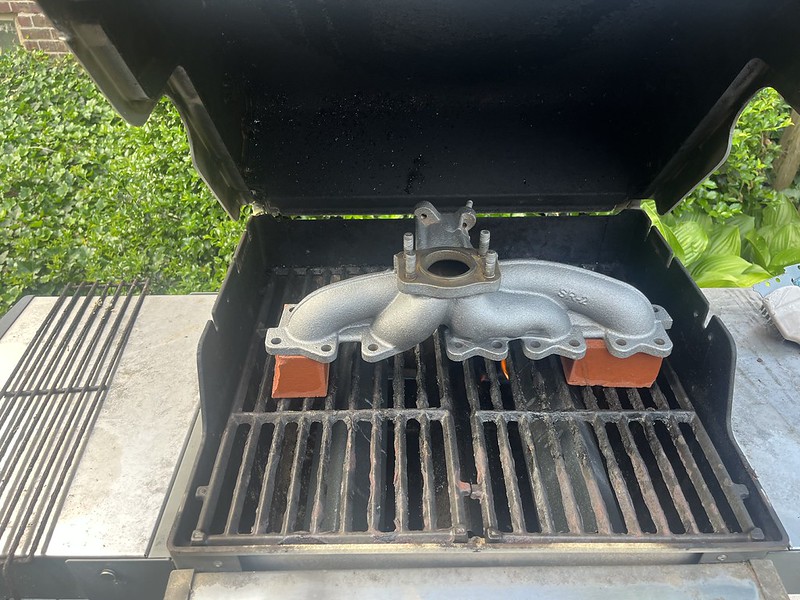
Withe the fuel system more or less taken care of we started to look around for things we could bolt to the engine as there wasn’t much while you’re in there stuff left. We thought we’d start by prepping the exhaust manifold. It’s a “high flow” eBay special we picked up a while ago and thought we should try to protect it withe some coating our other. We contacted the company that restored our turbo a long time ago and they recommended Eastwood’s High Temp Coating in Factory Gray as that’s what they used. So we ordered up a couple of cans and some of their Rust Dissolver and set to work.
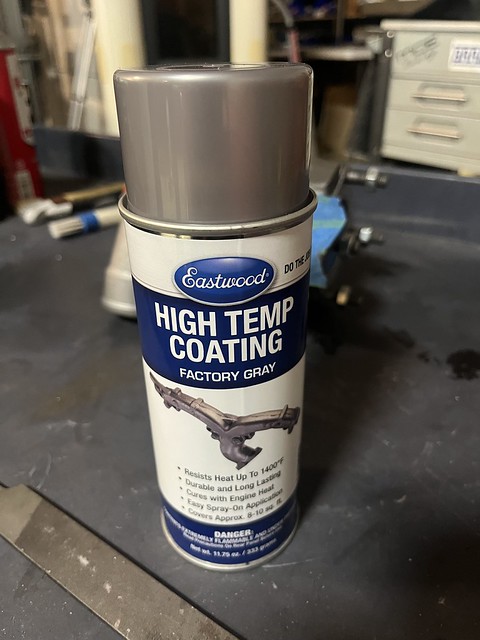


It turned out great and matches the turbo perfectly, as you’ll find out if you follow along. Like and subscribe everybody!
 Quattro Squad Project Blog
Leave a comment