
Obviously it’s been a little while since we updated this build be we have what we feel is a valid excuse as we’ve been building a website for it. You can check it out at https://quattrosquad.com/. Even better, let us know what you think of it.
In the previous update we installed the steering column and pedals, clutch master cylinder, brake lines, fuel tank, battery, and got it on its wheel. Since then we’ve decided that getting the engine running should be our priority so in this episode we handle engine bay wiring, intake system, dash and heater blower. Some of these are necessary to run the engine and some are just easier to deal with before the engine goes in. Of course, there is a very small chance that we may get distracted by shiny parts but your job is to keep us focussed on our goal.
Let’s start with the wiring in the engine bay. We have two harnesses in this area: the engine harness, which is mostly stock AAN and the chassis harness for the non-engine stuff that’s also in the front of the car. As you can see they are both a bit of a mess. During the dry build they did get ran and secured but for now we are going to leave them roughly laid out till more ancillary parts (and the engine) are in place. That’s a sensible approach, right?


This intake elbow qualifies as one of those easier now than later components but we might just install the whole intake system before fire up so why not? It takes the cold and somewhat pressurized air from the cowl area and sends it to the turbo via the MAF sensor at the front right of the engine bay. We mocked it up during the dry build but it still needed final welding and sealing to the cowl or the co-driver will get wet feet. Even with the cork gasket we made it took more fettling than we expected to get it to seal so we may need to apply some sealant or caulk later but it’s fine for now.


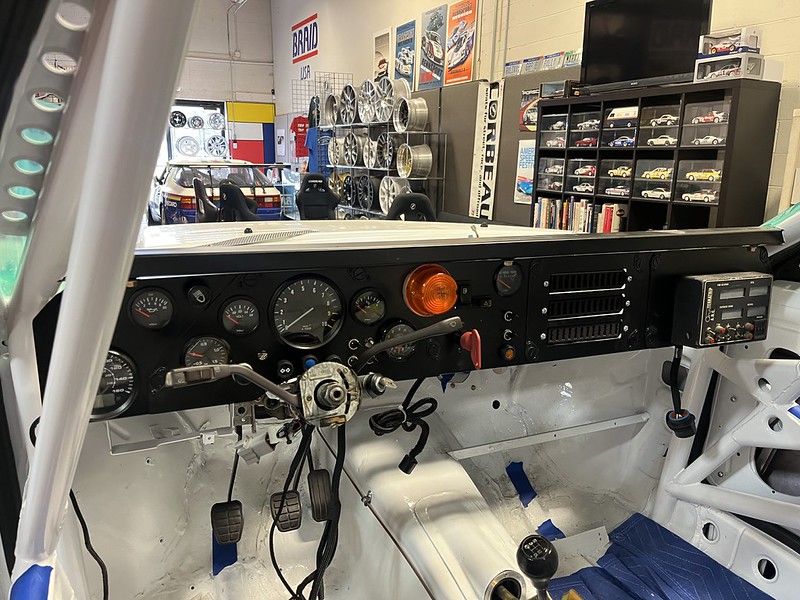
We don’t need a dash to fire up the engine but we might need some working gauges in case it actually runs so that was all the excuse we needed. Of course it was a lot more work than we imagined to reassemble the thing. We found ourselves wishing we’d taken better notes and more pictures.


The heater blower is another convenience item we installed. The heater hoses terminate here of course but we could bypass them if this weren’t in. Still, a lot easier to just walk into the engine bay and right up to the cowl right now so in it went.


It was the same story with the wiper mechanism: a lot easier to access without a lump of an engine in the way. Of course, we refrained from installing the actual wipers due to the lack of windshield. No way to justify installing that at this stage..


Stay tuned, like and subscribe etc. as in the next installment we’ll cover such exotic components as air filter, fuel lines, exhaust manifold and so much more!
 Quattro Squad Project Blog
Leave a comment