
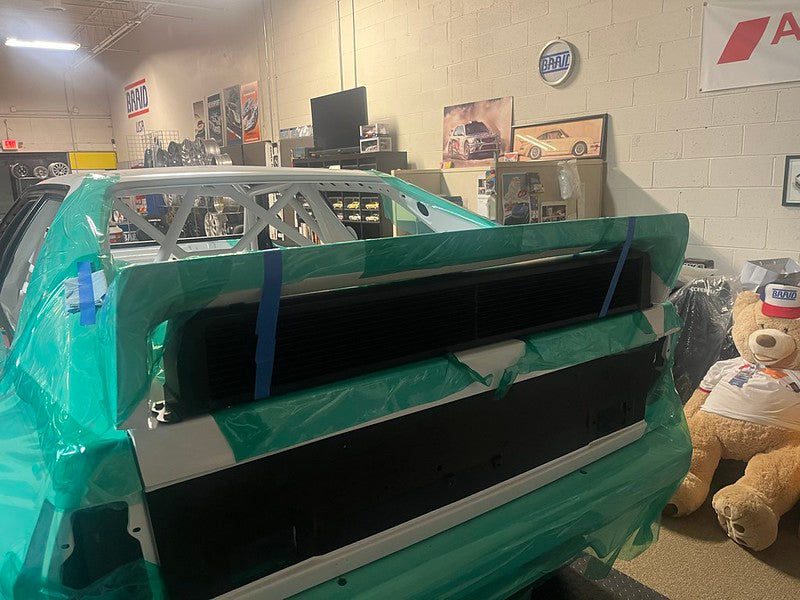
Welcome to update #3 of the final assembly of our Quattro rally build. When we left you we’d just got the car into it’s build space, added some gold heat protection along the exhaust route and covered most of the new paint in green saran wrap!
Well, we had a little heat protection film left over so decided to add a little to the underside of the hood over the turbo.

Then, still in a protective mood, we added some Dynamat to protect our ears. We stuck this on the backside of aluminium bulkhead and parcel shelf as we expected to be very boomey without it and once the fuel tank goes in it will be way too late to do anything about it. Of course we used the lighter version because racecar!

Next on our quest to get the car rolling was to install the subframes. Our donor car came with uninstalled, solid aluminium subframe bushings but one thing we hadn’t noticed during the dry build is that the Quattro subframe bushings are different thickness front to rear and our solid bushings were too thick for the smaller ones. No worries as you can grind down aluminium, unlike rubber.


Unfortunately, when we came to install the rear subframe, we noticed the diff seal was leaking. We were very surprised as we only recently resealed this diff; recently as in about eight years ago! So we installed it without the diff while we source another seal.


We know, you don’t need a trunk mounted oil cooler to create a rolling shell but the diff issue had bummed us out a bit and we needed a treat. Plus, it added rear weight just like the lightweight Dynamat did.

Not adding rear weight and not required for a rolling shell was coming up with an acceptable replacement for the shifter linkage bushing in the transmission tunnel. Ours had come out as what could only be described as almost dust and they are not available anywhere we have access too. So we had to devise an alternative. This was our first attempt but is was too close to the shifter mechanism and got squished.

Then we found this that looked like it had potential so we ordered one up.

We think in real life it’s a Beetle shift boot for the gear lever. It was the right diameter inside and out but didn’t have a slot to mate with the flange in our transmission tunnel hole. So we made a bezel.


Some things you definitely do need for a rolling shell are strut tops, especially if you have struts! We went with these from CompBrake in the UK. Adjustable in the front but fixed in the rear. You could probably use front ones in the rear too.


By now you’re probably thinking we have a hard time focusing on the rolling shell goal and are jumping about a bit. Well, you are correct but we’ve also decided to aim at getting the engine fired up sooner rather than latter, in case it needs a rebuild. For that reason we are now also installing parts that will be hard to do once the engine is in situ. So we installed the brake master cylinder and pedals next.

Then we needed a bulkhead gasket.

and then we had to make some bushings.


Before finally getting the assembly mounted in the car.


 Quattro Squad Project Blog
Leave a comment