
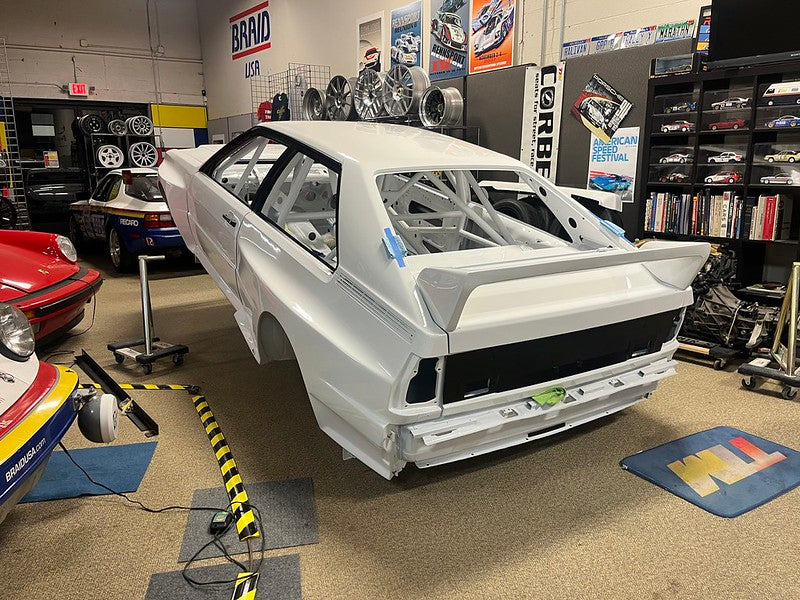
Welcome back to another update of our Quattro rally build. The beginning of the end.
Job #1 was to get the shiny shell into it’s build space and on its pin stands without scratching it. That proved a little harder than expected especially as we had to be careful not to damage the new paint and being careful around this thing was something that we hadn’t really had to be so cognoscente of till now. But with a little thought and quite a bit of back and forth we managed it.


So Now we were chomping at the bit to start throwing parts at the bare shell but thought we should first devise some sort of plan. At the very least we realized that we probably shouldn’t install parts that will be in the way of other parts later. Then we thought we should prioritize installing parts that would allow the car to roll around on its wheels as right now it’s immobile. Also, We also realized there are more parts than we thought that still need refurbishing, buying or even making. Another idea was to add weight to the rear of the car before installing the engine in case it became a bit tippy. So I guess now we had a plan.
As we’ll be in and out of the trunk a lot, we thought it might be a good idea to install the trunk seal and buffers first as this would give the trunk lid a soft landing at least. and some protection for our delicate body parts. Bet you didn’t expect this to be the first part to go on the car did you?


Then we realized that the doors, being quite light, were very easy to fling open so, in order to stop them over extending and damaging the fenders, we realized we should install the door checks next. No, we didn’t see this one coming. We also threw in the door seals to help protect the paint on the edges as well as us.


Next was the steering rack because a) it was shiny, b) it was ready, and c) it was on the “get it rolling on its wheels” list. Check out all those holes in the bulkhead!

And this one we hadn’t anticipated ether: We ordered and installed gold heat reflecting tape from the tail pipe and along the transmission tunnel all the way to the engine bay. You see, we realized that we needed to install the rear subframe in order to get the car rolling and that would make installing the heat shielding a bit tricky, at least in the rear.

As we were still feeling very protective of our new charge we next applied cavity wax to every nook and cranny we could find then stuck sheets of green saran-wrap like material on the vulnerable surfaces of the shell to protect the paint.


If you enjoyed reading this follow along so you don’t miss the next exciting update. Who knows what we’ll install next?
Also, check out our YouTube Channel. https://youtube.com/@quattrosquad7034?si=La4ekUbfsds1h2If
and follow us on social media:
INSTAGRAM https://www.instagram.com/quattro.squad/
FACEBOOK https://www.facebook.com/QuattroSquad
 Quattro Squad Project Blog
Leave a comment