

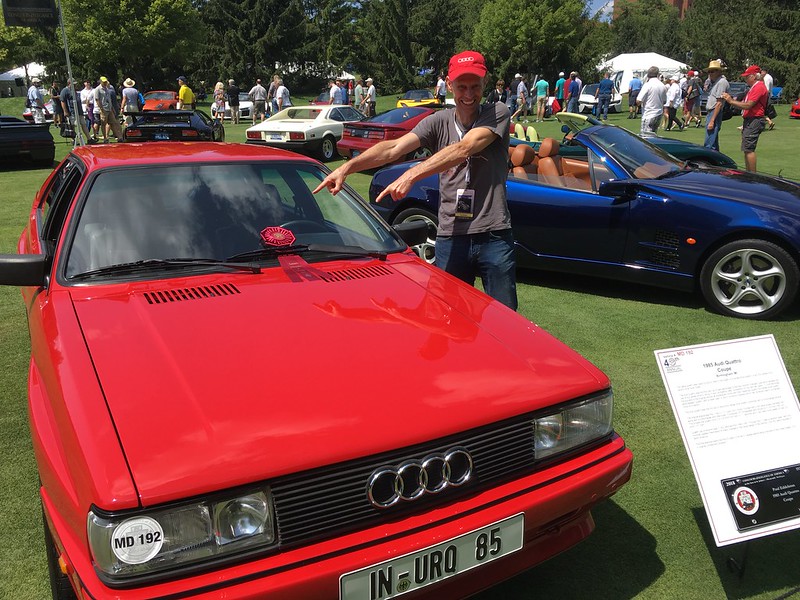
It’s been a while since we got to work on the rally Quattro project so also a while since any updates. We have been distracted by other projects such as getting our 85 Quattro ready for the Concours D’elegance of America towards the end of July. Happily the car won an award so it was worth the effort.
As you may recall the car came with some suspension parts, the origin of which we could not determine. Namely: delrin control arm bushings, coil-over conversion kit and spherical bearing top mounts.
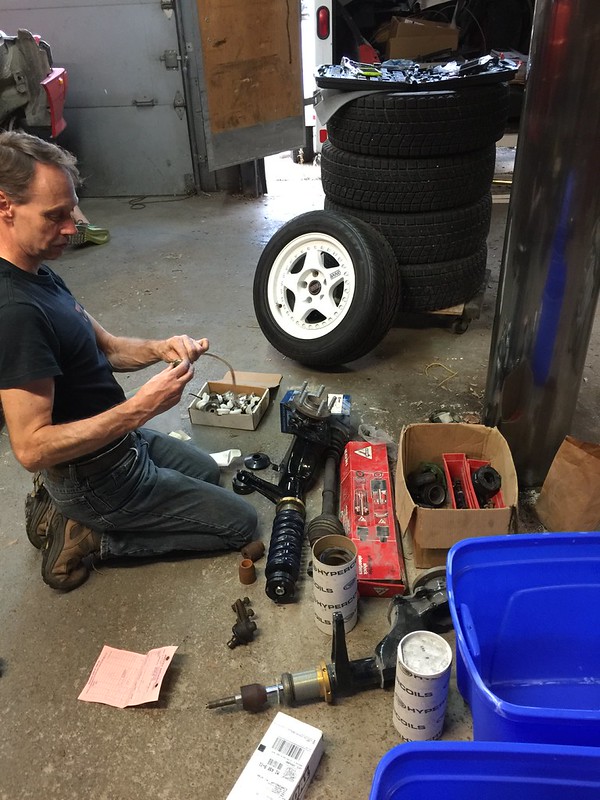
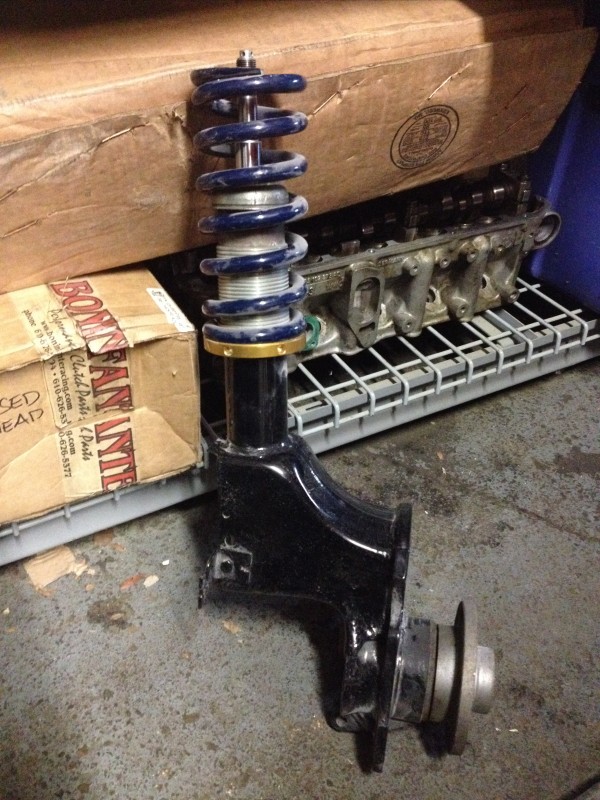
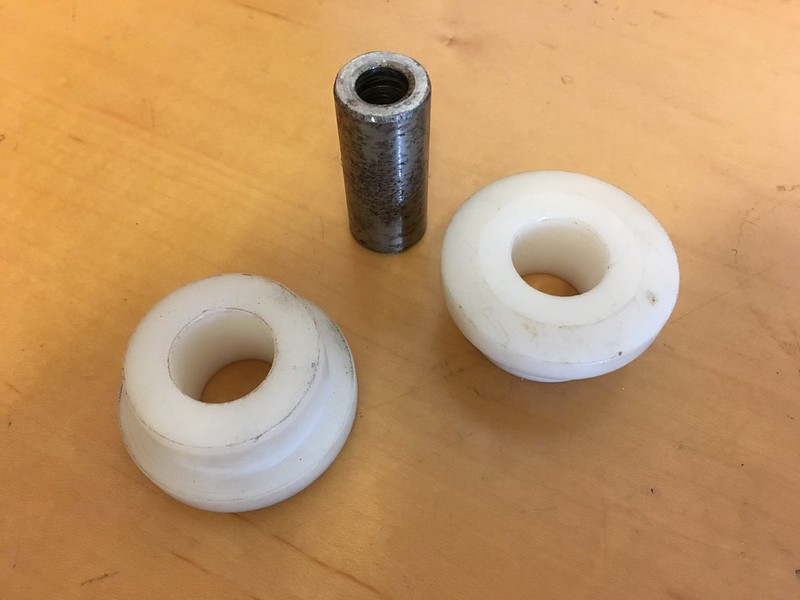
We have had an interesting time trying to get all this kit to work. Firstly the delrin bushings are wider than the sleeve that goes through them. This sleeve needs to end up slightly proud of the bushings so that it get clamped in the mounting slots and does not move. Then the bushings can rotate on the sleeve. Fortunately the sleeves appear to be the correct length.
It’s a good thing the bushings are also too thick as we need to remove some material to make them shorter than the sleeves. However, the sleeves are too tight in the bushings so we will also need to relieve them a little so they will actually rotate.
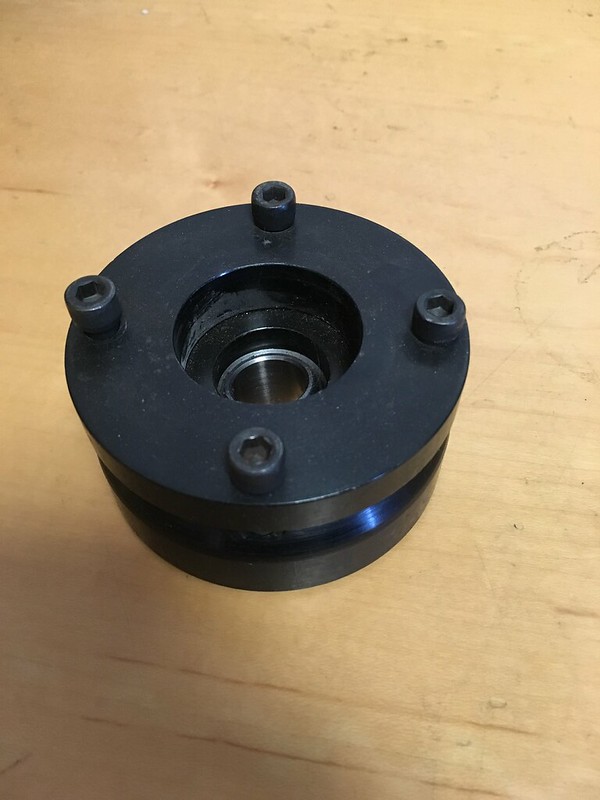
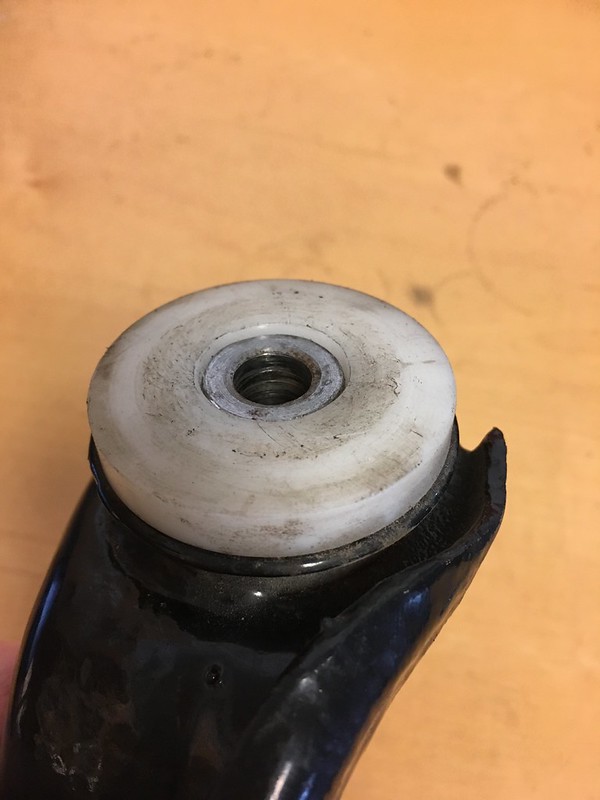
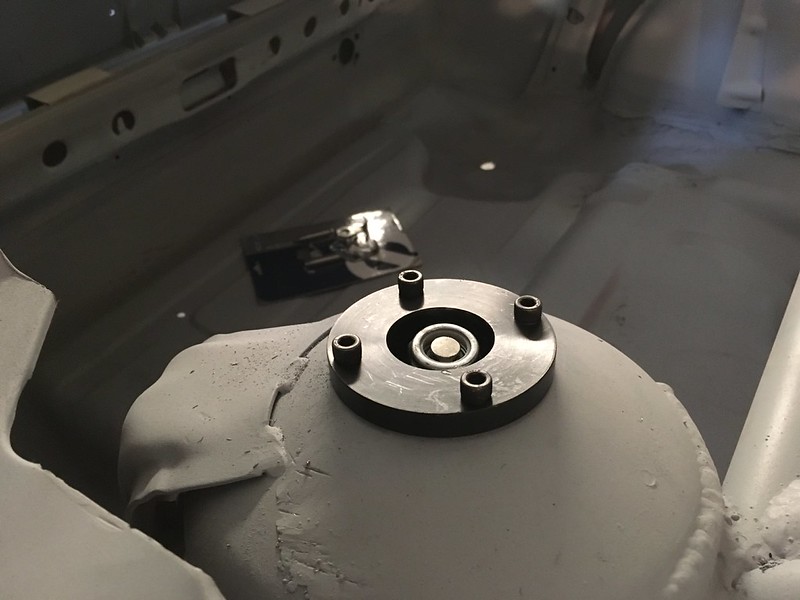
The top mounts don’t work either. Early on we had some spacers made to locate the upper spring perch and get some articulation in the mount but we won’t know how much articulation we need until we can mock-up a front and rear strut and control arm, but it’s definitely going to require more than we have now.
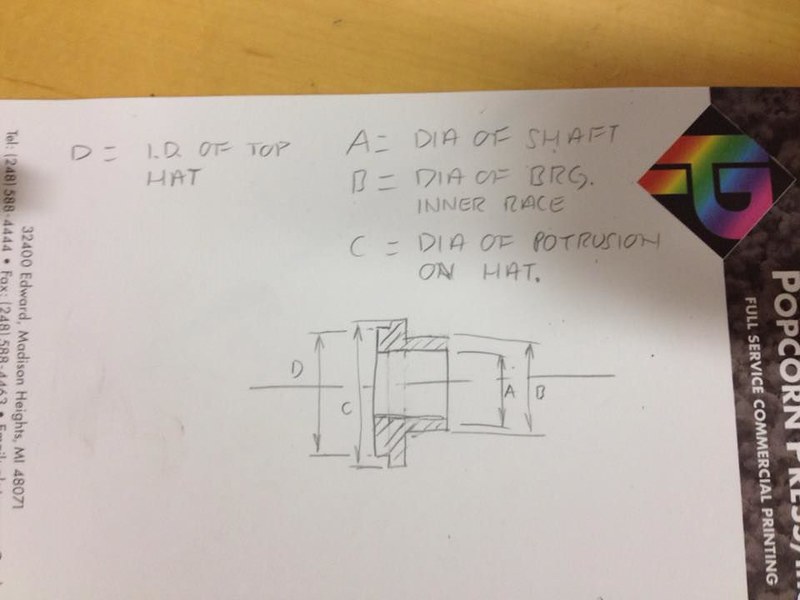
Unfortunately, due to the amount of hardware we are introducing to allow articulation we are also using up all of the threaded portion of the strut shaft and, although we can get a nut on we can’t access the hole in the top which will allow us to stop the shaft turning so we can torque it down.
To make things more interesting we have not yet found any off the shelf tubing of the correct dimensions to use as spacers so it will all have to be made.
The tops of the struts are also unfinished. We are concerned that these may corrode, especially the threaded sleeves. We are hoping our plating shop can zinc dichromate just the top portion as paint would be too thick.
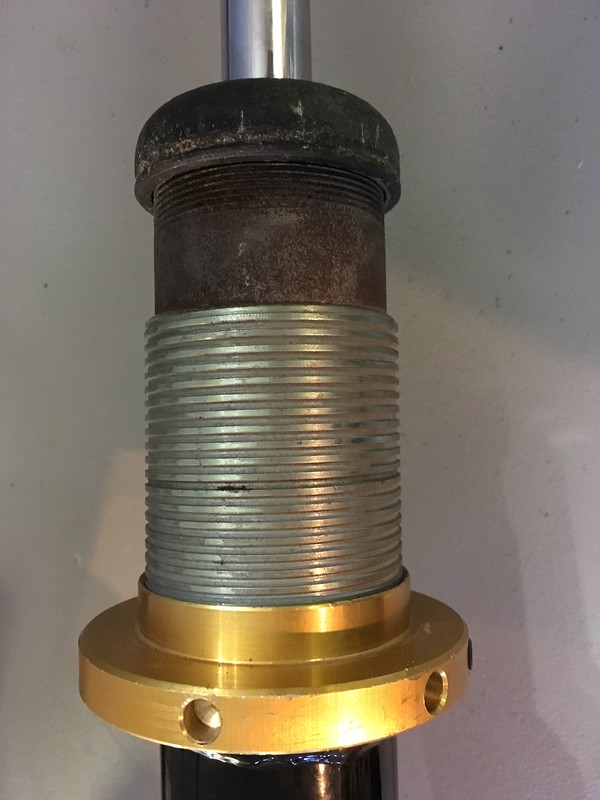
And we thought not having to stick to OE parts would make this project fun!
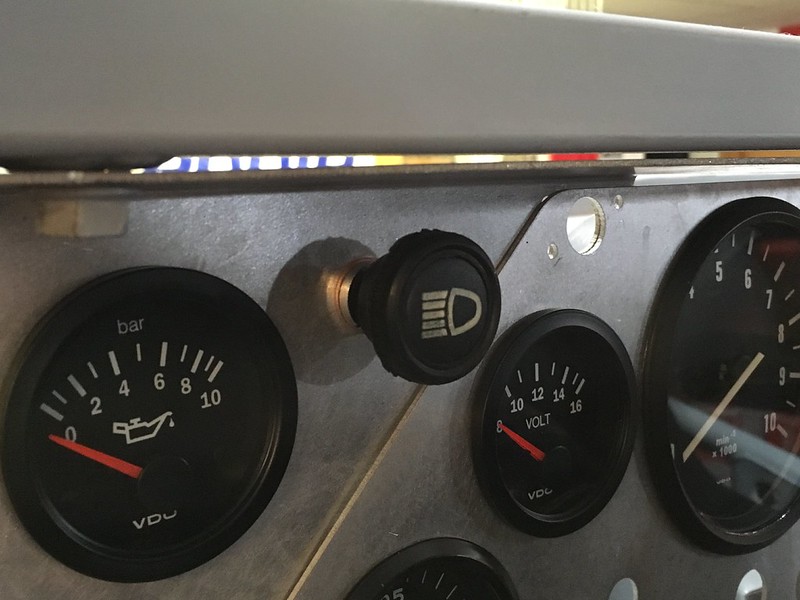
On a brighter note we did have some small victories with the dash. We found and mounted a VW Beetle headlight switch:
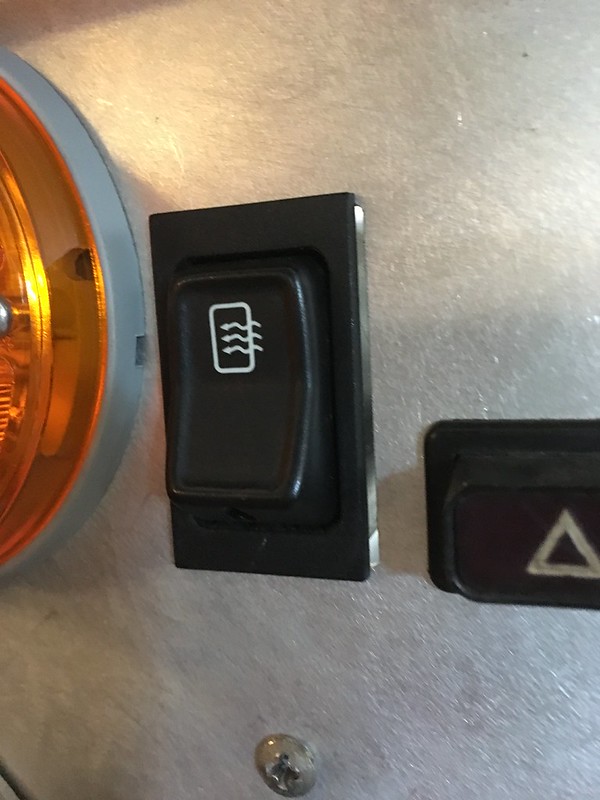
And the period correct heated rear window switch:
Next update should include how we solve all the suspension issues, hopefully.
 Quattro Squad Project Blog
Leave a comment