

So we have had the car back a couple of weeks and there has been plenty of buzz though not, seemingly, much progress. That, of course is not the case with much of the action taking place in online shopping carts as we start to buy the parts we will need.
Most importnatly, an engine. We have the 10V that came with the car and that “ran when parked” as they say. But it’s only good for 2-300 horspower max and then you have to ditch the CIS injection and spend gobs of money on it, jst to get 300hp. A slightly more modern 20V engine can easily manage 3-400 horsepower apparently with much more availble if you want to go bankrupt. We think 350 hp will be fine for our purposes so have decided to go that route. We have orderd a stock but tested engine from a quattro guru that is coming with a chipped ecu and a few other niceties that should give us a plu and play 300-350 hp. More on that when it gets here.
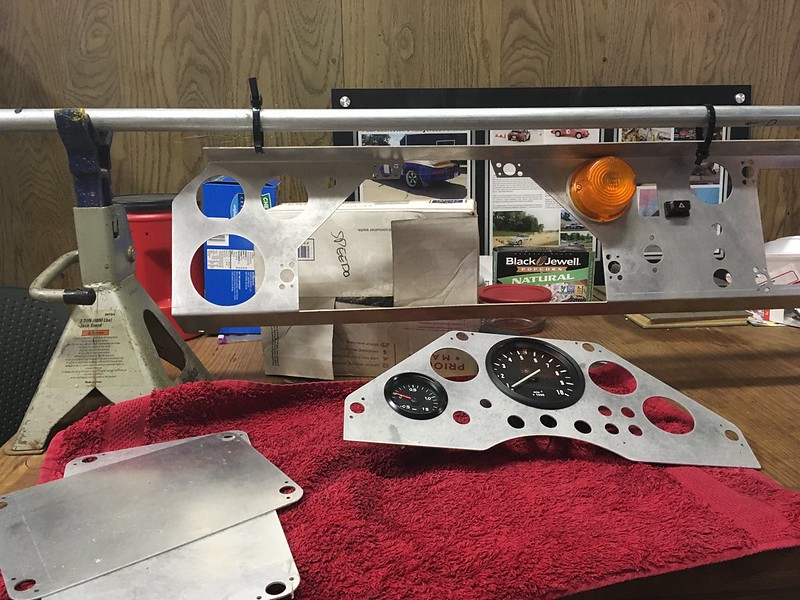
So what else: well, we started assembling the iconic Group B dash by pulling out all the gauges and switches we had previously purchased. Then went to eGauges.com for the ones we are missing. VDO Vision Black; in Metric when available.
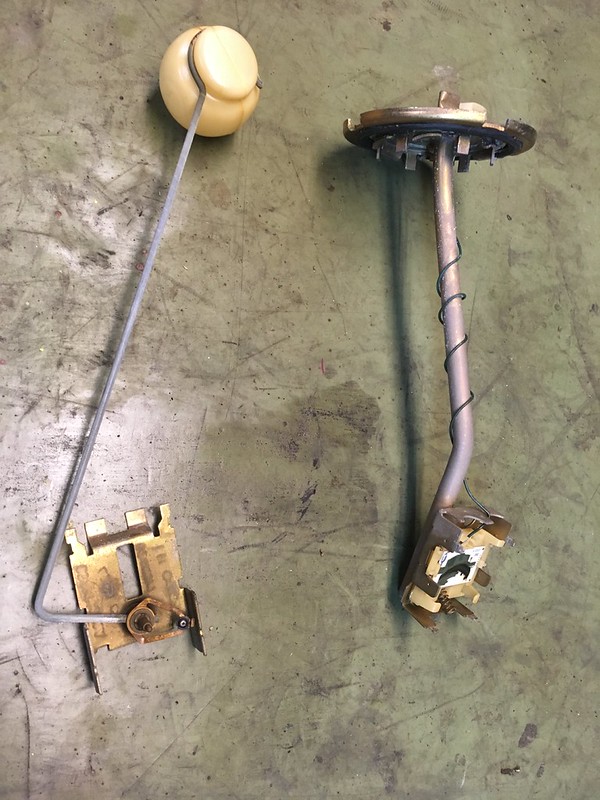
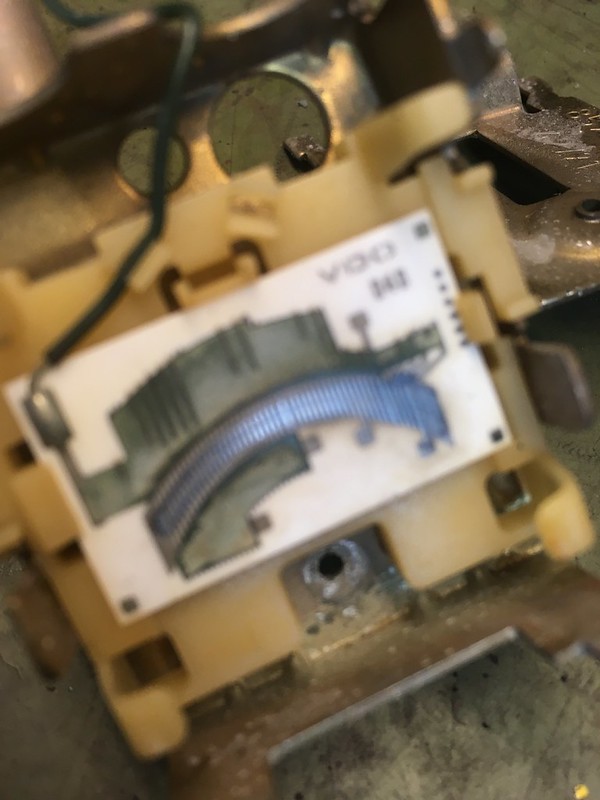
Before we could order the fuel level gauge we needed to figure out what ohms range the stock sender puts out. The interweb didn’t seem to know so we showed it our FLUKE multi-meter. That must have sacred it because it didn’t work. After careful disassembly and cleaning of all the electrical paths we finally determined that it went from 40ohms to 285 ohms so ordered a 33-240 ohm gauge.

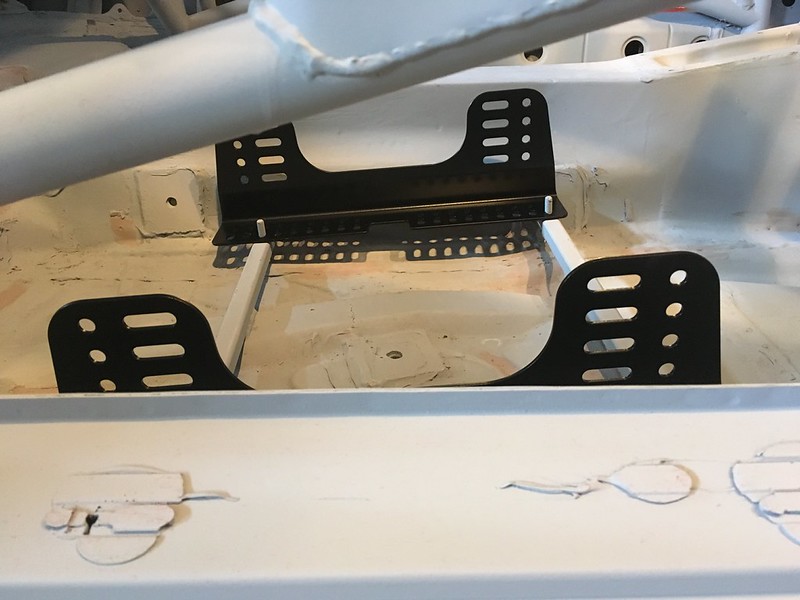
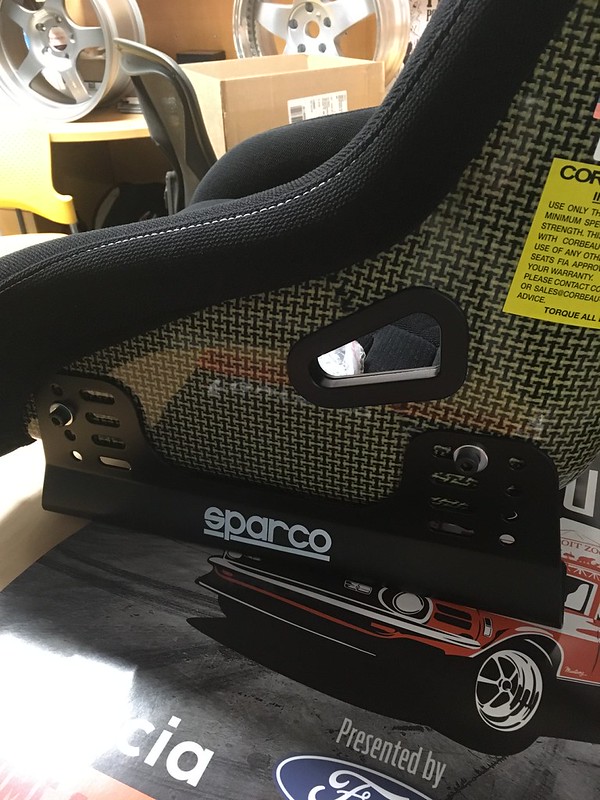
We also test fitted our Sparco seat bracket, both in the car and on one of our Corbeau FIA seats but resisted the temptation to test the both in the car, for now.
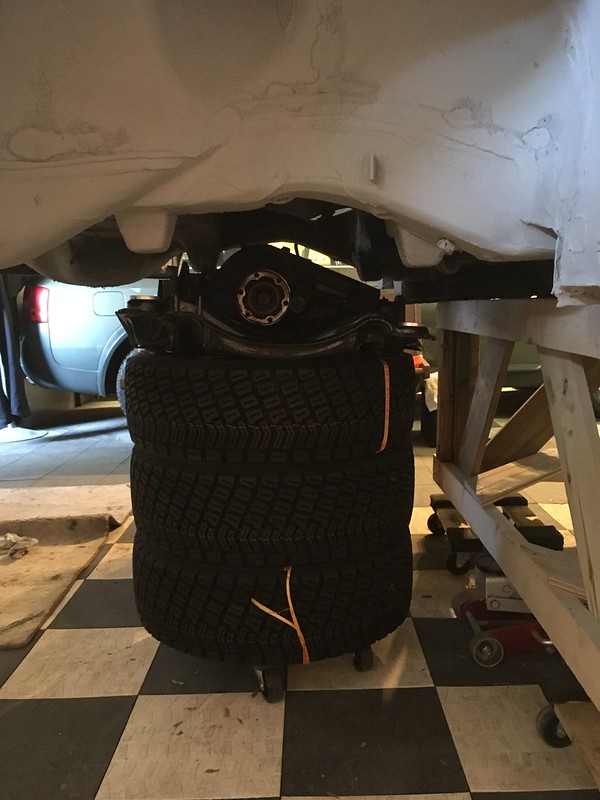
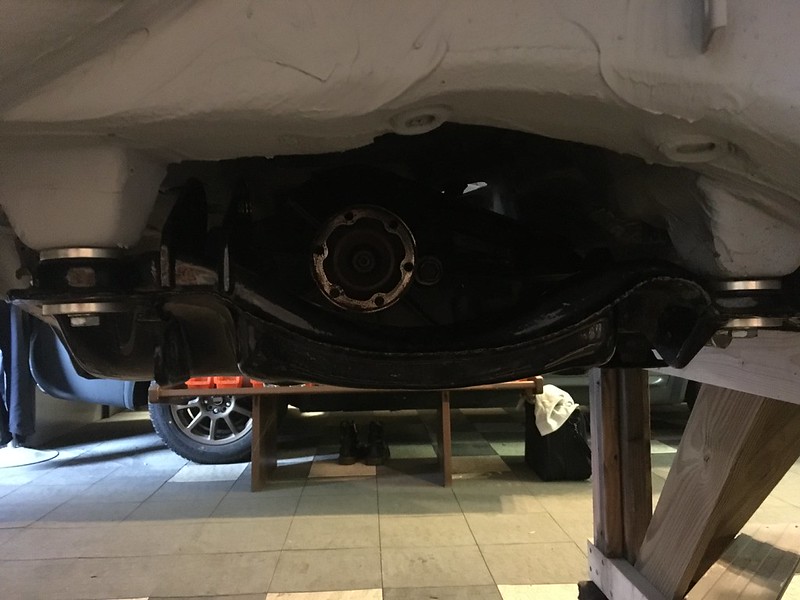
Then, with a little help from some MRF rally tires we installed the rear diff and subframe.

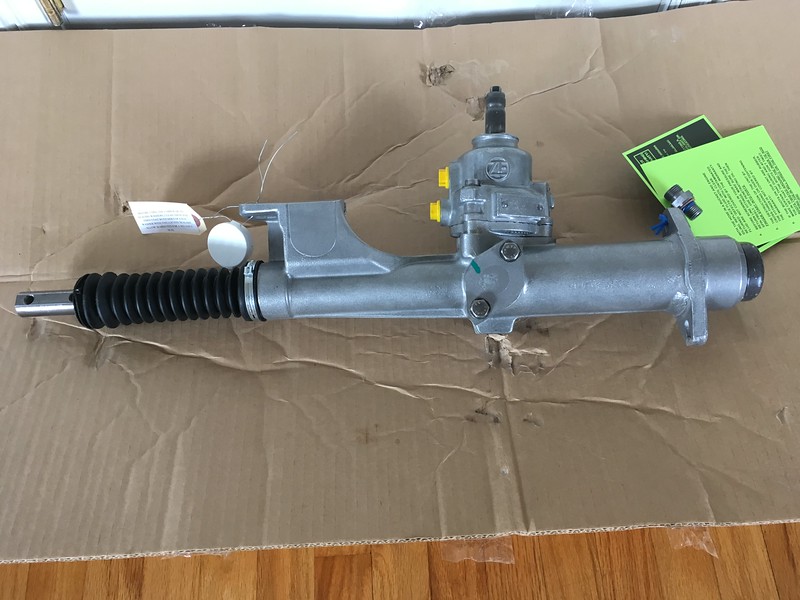
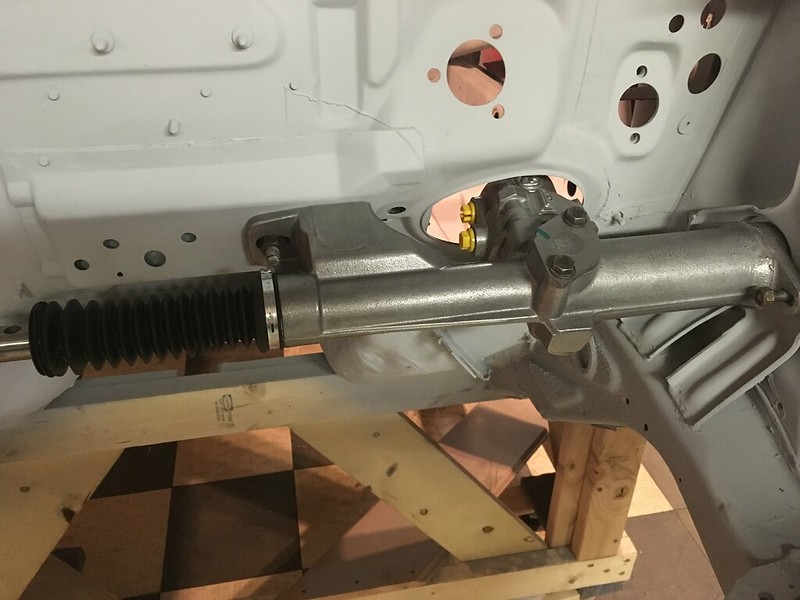
And yesterday our refurbished rack arrived from Jorgen Automotive so we threw that at the car too.
Next on the list is to refurbish and install the steering column, pedals and shifter. Me should have the front subframe back from powder coating so don’t be surprised to see that on the car too soon.
 Quattro Squad Project Blog
Leave a comment